TetherNoJailbreak – Hotspot Tethering via Ad-hoc Wifi Network
05/28/2018
14869
Although iPhone now has inbuilt tethering functionality, stock limitations still apply. To set up tethering on your iPhone, you must gain the required permissions from your carrier.
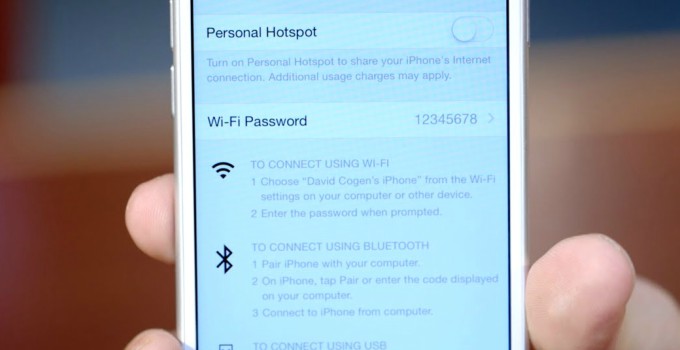
Here’s a new app called TetherNoJailbreak that lets you bypass these limitations without jailbreak.
TetherNoJailbreak app bypasses the stock tethering limitations of your iPhone for free. It is developed by Frank Zhang. Essentially, this app disguises the tethering data as regular data. Once you install it, you will not experience the following –
Carrier-specific hotspot limitations
Paying extra money to remove hotspot limitations
Blocked hotspot functionality on your iPhone
Download TetherNoJailbreak
AdHocConnect (Windows script for setting up an ad-hoc Wifi network)
Requirements
iOS 10-11 firmware
Cydia Impactor
A computer running Windows, macOS or Linux
Ad-hoc Wifi network created by your computer/laptop or a portable router
Installation
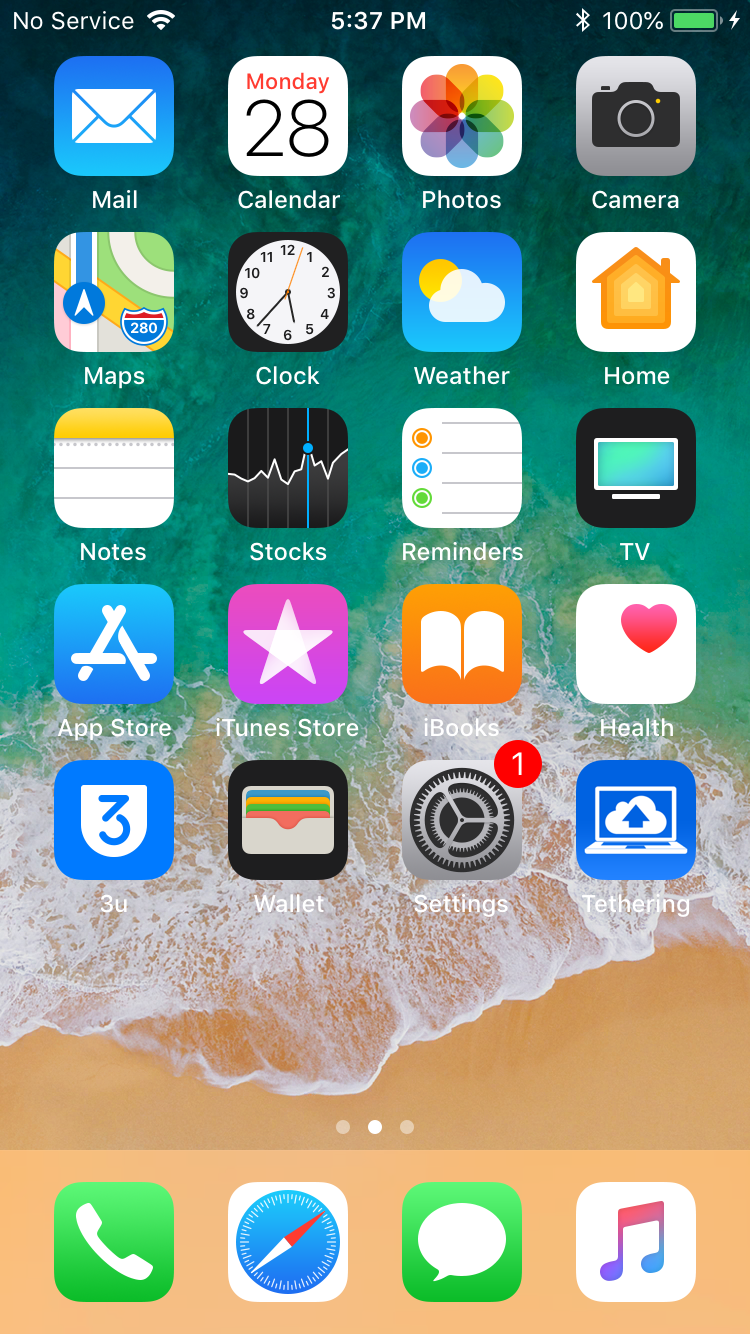
Step 1 Install the ipa file via Cydia impactor, and trust the profile.

Ad-hoc wifi network setup
Step 2 Create an ad-hoc Wifi network on your computer or laptop. Go to Settings > Wi-Fi and connect your iPhone to the ad-hoc Wifi network you created in the previous step.
Step 3 Launch “Tethering” app on your iOS device. Your iPhone is now ready for hotspot tethering.
iPhone Configuration
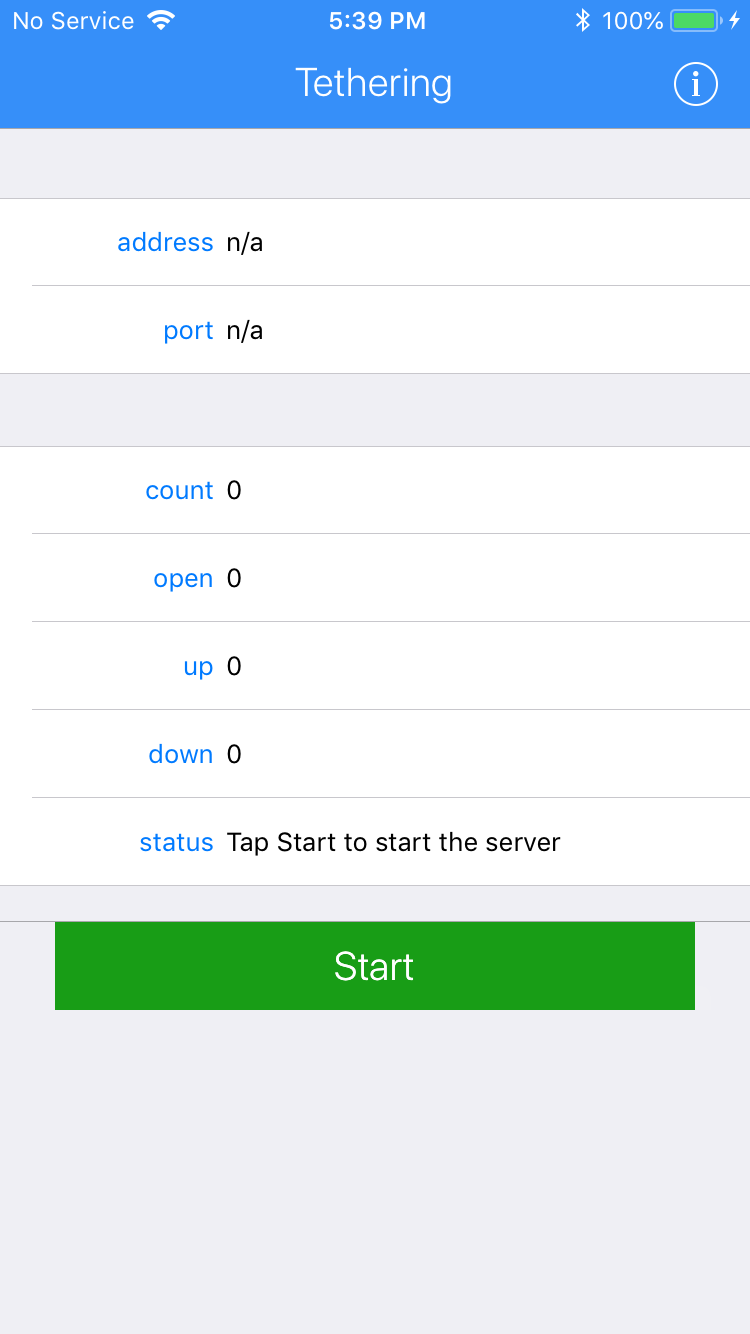
Step 4 Tap Start to start tethering. Then copy the address value that appears in the app.
Step 5 Go to Settings > Wi-Fi and tap the “i” button present next to your ad-hoc network’s name.
Step 6 Tap Configure IP and set it to Manual.
Step 7 Enter the IP address value you copied in “step 10” to the IP Address field. In my case, the IP address was 192.168.43.113. Enter 255.255.255.0 as your Subnet Mask and leave the Router field empty.
Laptop Configuration
Step 8 Go back to your computer/laptop and access your network preferences. In the TCP/IP section, enter the first 3 numbers of the aforementioned IP address in the IPv4 address field.
For the last number, enter any number between 2 and 253. In my case, this address can look something like this – 192.168.43.120.
Step 9 Enter 255.255.255.0 as your Subnet Mask. Enter the exact IP address that the app displays in the Router field.
Step 10 Enter the same IP address in the DNS field as well.
Step 11 Go to Proxies tab and select SOCKS proxy. This step is essential because TetherNoJailbreak works only for devices that can configure SOCKS proxies.
Step 12 Enter the IP address and the port number from “Step 10” in the SOCKS proxy field.
That’s all there’s to it! You can now use your iPhone’s internet on your laptop or computer freely.
